Finding options for a Digital Synth Workshop
I want to design a workshop where people create their first digital synthesizer (I want to callit digisynth). This turned out to be challenging because two aspects of it are challenging, and they interrelate
- Creating a synthesizer that is interesting enough from the perspective of the user. Also, when demoing it through a video (e.g. Instagram) for it to look compelling enough.
- What would make the synth compelling? It's similarity to known synths on a simpler factor? Unexpected interactivity?
- Cheap enough, using somewhat familiar, or easy-to-acquire hardware
- In Chile, it's exceedingly difficult to get most electronic parts; also, one never knows whether a part will no longer be imported.
- Arduinos are easy to find. Also some parts are replaceable, e.g. headphone jacks or 8-ohm speakers.
- An easy process of getting it to work, to reduce the risk of frustrating results.
I tend to over-complicate things: the most obvious answer is to use Mozzi and build one of the shown examples. However, I wanted to dig deeper and find ways to attain greater sound resolution or an obvious way to synthesize sound sample by sample, which I love doing.
Mozzi
Yes, Mozzi is the answer because all the needed materials are widely available; I could even do this workshop online and I can be almost sure that everyone will be able to purchase an arduino UNO, or pro mini, or another. Also, Mozzi is awesome and fun.
A downside of Mozzi is that it utilizes quite advanced type-casting abstractions which could take too long to explain. This downside can be overcome by teaching enough recipes and offering a few tools that one could use even without deeply understanding what's going on. Since it's so easy to set up, plenty of time is left to delve into this. A Mozzi-based workshop would be based on an explanation of the examples in theory, plus concrete to tweak these examples.
I2S
I currently have scarce resources. On top of that, it takes about a month for something bought online to reach me in Chile. I have about three I2S DACs in my toolbox, and getting one of these to work would be sufficient. I2S offers greater sound quality and an easier setup than Mozzi's Hi-Fi mode (nothing can beat Mozzi's one-pin setup, though). This is because all the required hardware is typically present on the breakout boards, so one doesn't need to find precisely valued resistors or capacitors, etc.
Another advantage of I2S is that we can use a more powerful yet still widely available MCU, such as the ESP32, ESP8266, Arduino Uno R4, etc.
The downside with I2S is that it introduces an additional compatibility variable. While Mozzi works on many devices, getting it to work on certain MCUs with specific I2S DACs is a different challenge. Even though I2S is standardized and well-documented, setting up an Arduino sketch to work with it is no longer a simple task. For example, Mozzi will not easily work on an ESP32 with a DAC without delving into the details of how timer interrupts are handled and how audio is sent to the DAC.
I already have in my possession an ESP32, which is also a widely available chip on many boards and price ranges. The ESP32 presents quite few quirks of it's own, which are nonetheless reasonable to deal with.
Here are some of the solutions that I could get working easily:
STK over ESP32 with I2C DAC
Phil Schatzmann did an incredible job of making these libraries. He integrated some c-written audio synthesis kit, which I think was originally intended for desktop computers, into an Arduino library that works with the ESP32. Although it's not the functionality I am looking for, he implemented ways to stream the audio through Bluetooth and other protocols including Serial. I haven't been able yet to delve deeper into the capacity of the library, but it seems to be quite a comprehensive. More can be read here and the library can be found here.
That's not all: this STK library became part of a much bigger library; the Arduino Audio Tools. The library harmonizes several audio libraries, including Mozzi, into one huge library. It allows one to create a Stream abstraction from these virtual audio signals and consequently allows the program to make pretty much any combination of software and hardwares (even desktop?!), provided that one configures them correctly. The resulting syntax is quite elegant - I'd like to delve a bit deeper into the usage of this library to see if the elegance withstands more complex synthesis patches. If I create something with this library, I should remind myself posting it to his show-and-tell
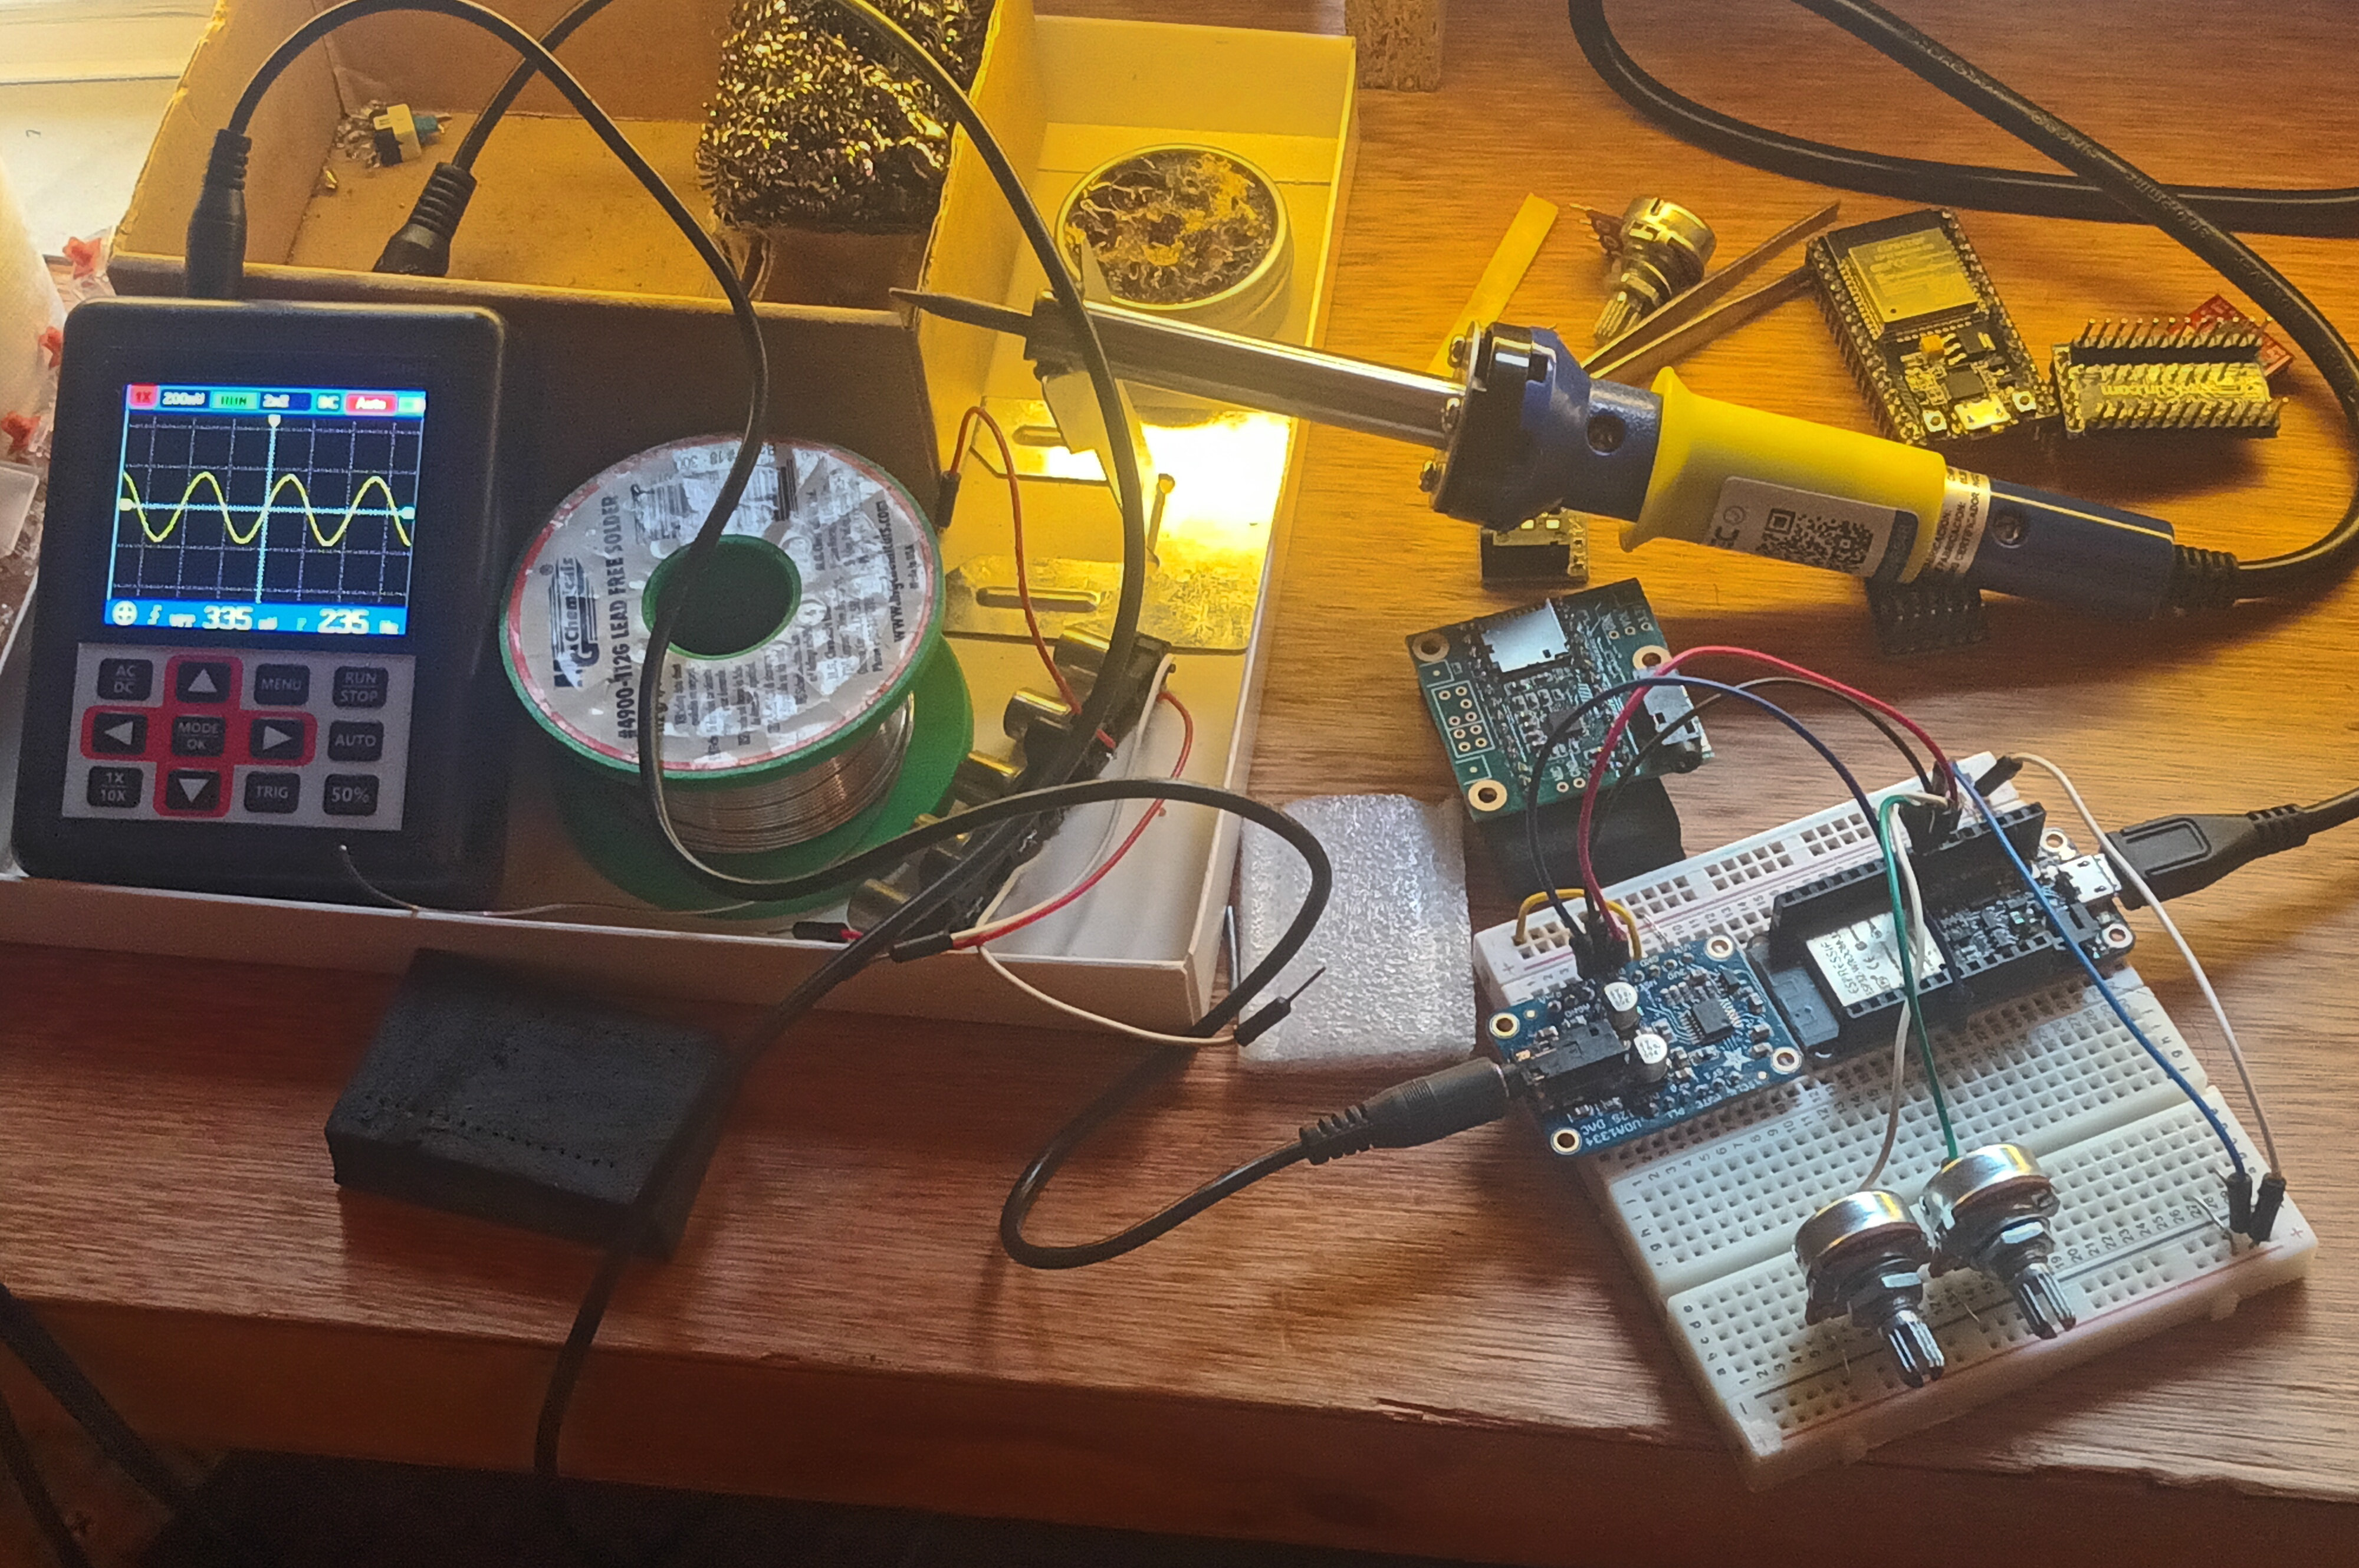
With Adafruit ESP32 feather, it's a bit tricky to know what digital pins are sent to which pins on the board. This picture was useful. Here is how I connected it, as to match the chosen sketches' pinouts. Please don't remark about how ruffed-up my ESP32 is.
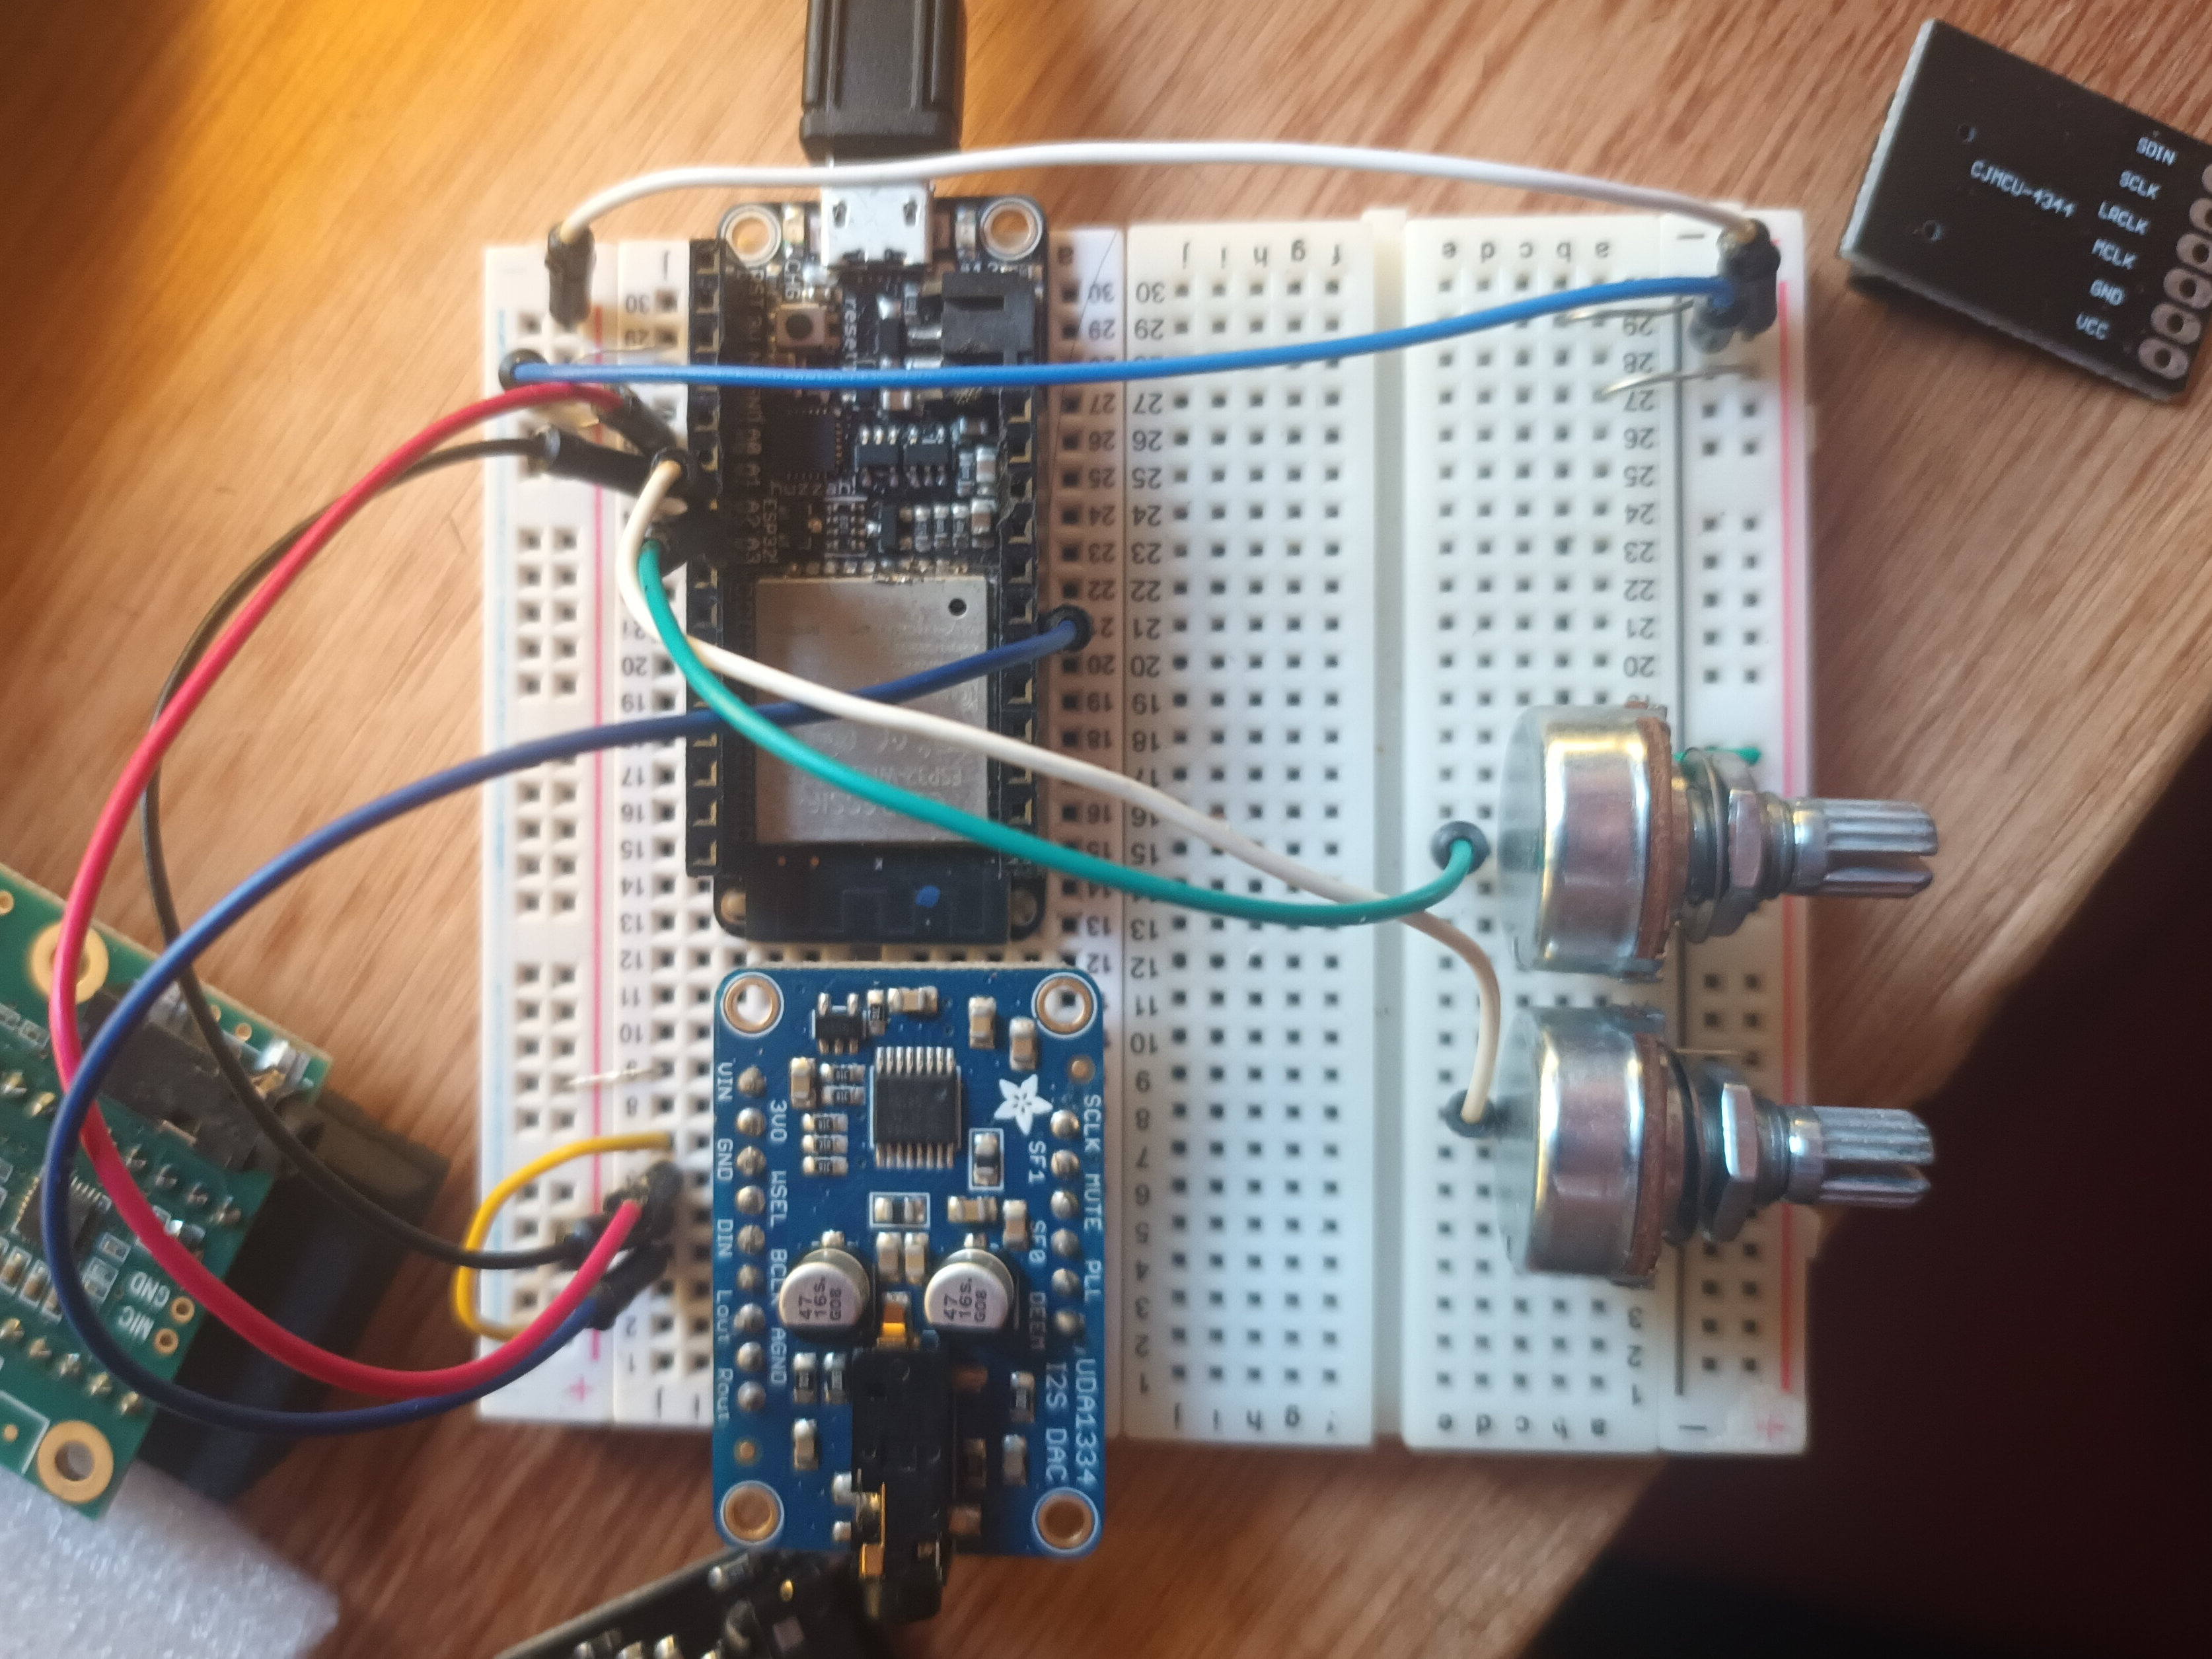
Here two setups that I could get working easily, using ESP32 and UDA1334 breakout board by Adafruit:
Using audiotools entirely
This one has a very elegant syntax, and all the dirty work of writing blocks to I2C is hidden from view. This type of sketch seems that would be most useful for a workshop that focuses on the synthesis aspect of digisynth.
/**
 * @file streams-generator-i2s.ino
 * @author Phil Schatzmann
 * @brief see https://github.com/pschatzmann/arduino-audio-tools/blob/main/examples/examples-stream/streams-generator-i2s/README.md
 * @copyright GPLv3
 */

#include "AudioTools.h"

AudioInfo info(44100, 2, 16);
SineWaveGenerator<int16_t> sineWave(32000);     // subclass of SoundGenerator with max amplitude of 32000
GeneratedSoundStream<int16_t> sound(sineWave);  // Stream generated from sine wave
I2SStream out;
StreamCopy copier(out, sound);  // copies sound into i2s

// Arduino Setup
void setup(void) {
  // Open Serial

  // start I2S
  Serial.println("starting I2S...");
  auto config = out.defaultConfig(TX_MODE);
  config.copyFrom(info);
  config.pin_bck = 27;
  config.pin_ws = 26;
  config.pin_data = 25;
  //config.buffer_count = 8;
  //config.buffer_size = 1024;
  out.begin(config);

  // Setup sine wave
  sineWave.begin(info, N_B4);
  Serial.println("started...");
}

// Arduino loop - copy sound to out
void loop() {
  copier.copy();
  if (random(1000) > 995) {
    sineWave.setFrequency(random(2000)+ 20);
  }
}
Using ESP32-STK library + custom write routine
The custom I2S write routine is very much based on this post by Infrasonic Audio. I like it because it shows the process of block-writing quite transparently, and the author was kind to write quite a good explanation of the principles beside providing the code. What I love about the sample-by-sample approach, is that the DSP aspect is quite transparent, opposed to other APIs that intend to simulate the logic of analog modular synthesis. In this way of writing, the underlying math of sound is very tangible.
This approach could work for a beginner-level workshop, but the student has to be open to making lots of mistakes. Some of those mistakes are happy accidents too.
Some aspects of sound synthesis can be quite frustrating, though; such as performance matters and consequently fixed-point math; buffer underruns, etc. I think this approach is most suitable for an MCU that features floating point calculation hardware; so that users can work with the math they are familiar with.
/**
 * Sourced from
 * https://blog.infrasonicaudio.com/real-time-audio-synthesis-on-esp-32
*/
// Includes
#include "driver/i2s.h"                       // Library of I2S routines, comes with ESP32 standard install
static const i2s_port_t i2s_num = I2S_NUM_0;  // i2s port number

#define SAMPLE_RATE (44100)

#define DMA_BUF_LEN (32)
#define DMA_NUM_BUF (2)
#define TWOPI (6.28318531f)
#define PHASE_INC (TWOPI * WAVE_FREQ_HZ / SAMPLE_RATE)
// STK instrument lib
#include "StkAll.h"

using namespace stk;

Clarinet clarinet(440);
Voicer voicer;
int group = 0;
float amplitude = 64;

StkFrames output(20, 1);
int note = 22; // starting midi note

// Output buffer (2ch interleaved)
static uint16_t out_buf[DMA_BUF_LEN * 2];

// I2S configuration structures

static const i2s_config_t i2s_config = {
  .mode = (i2s_mode_t)(I2S_MODE_MASTER | I2S_MODE_TX),
  .sample_rate = 44100,
  //.bits_per_sample = I2S_BITS_PER_SAMPLE_16BIT,// also works on UDA1334
  .bits_per_sample = I2S_BITS_PER_SAMPLE_24BIT,
  //.bits_per_sample = I2S_BITS_PER_SAMPLE_32BIT,// also works on UDA1334
  .channel_format = I2S_CHANNEL_FMT_RIGHT_LEFT,
  //.communication_format = (i2s_comm_format_t)(I2S_COMM_FORMAT_I2S | I2S_COMM_FORMAT_I2S_MSB),
  .communication_format = I2S_COMM_FORMAT_STAND_MSB,
  .intr_alloc_flags = ESP_INTR_FLAG_LEVEL1,  // high interrupt priority
  .dma_buf_count = DMA_NUM_BUF,
  .dma_buf_len = DMA_BUF_LEN,
  .use_apll = 0,
  .tx_desc_auto_clear = true,
  .fixed_mclk = -1
};


static const i2s_pin_config_t pin_config = {
  .bck_io_num = 27,                 // The bit clock connectiom, goes to pin 27 of ESP32
  .ws_io_num = 26,                  // Word select, also known as word select or left right clock
  .data_out_num = 25,               // Data out from the ESP32, connect to DIN on 38357A
  .data_in_num = I2S_PIN_NO_CHANGE  // we are not interested in I2S data into the ESP32
};

// synth

float noteToFrequency(uint8_t x) {
  int a = 440;  //frequency of A (coomon value is 440Hz)
  return (a / 32) * pow(2, ((x - 9) / 12));
}


void setup() {
  i2s_driver_install(i2s_num, &i2s_config, 0, NULL);  // ESP32 will allocated resources to run I2S
  i2s_set_pin(i2s_num, &pin_config);
  // Highest possible priority for realtime audio task
  xTaskCreate(audio_task, "audio", 1024, NULL, configMAX_PRIORITIES - 1, NULL);

  Serial.begin(115200);

  Stk::setSampleRate(44100.0);
  voicer.addInstrument(&clarinet, group);

}

void loop() {
  //input.tick(output);
  note += rand() % 10 - 5;
  //float frequency = noteToFrequency(note);
  unsigned long metro = floor(millis() / 310);
  if(metro % 2 == 0) {
    voicer.noteOff(note, amplitude, group);
  } else {
    voicer.noteOn(note, amplitude, group);
  }
}


// Fill the output buffer and write to I2S DMA
static void write_buffer() {
  float samp = 0.0f;
  size_t bytes_written;

  //i2s_write(i2s_num, output, output.size(), &bytes_written, portMAX_DELAY);

  for (int i = 0; i < DMA_BUF_LEN; i++) {
    samp = voicer.tick();
    // Scale to 8-bit integer range
    // samp *= 255.0f;
    // or??
    samp *= 1024.0f;
    // Shift to MSB of 16-bit int for internal DAC
    out_buf[i * 2] = out_buf[i * 2 + 1] = (uint16_t)samp << 4;
    //out_buf[i * 2] = out_buf[i * 2 + 1] = (uint16_t)samp << 8;
  }
  // Write with max delay. We want to push buffers as fast as we
  // can into DMA memory. If DMA memory isn't transmitted yet this
  // will yield the task until the interrupt fires when DMA buffer has
  // space again. If we aren't keeping up with the real-time deadline,
  // audio will glitch and the task will completely consume the CPU,
  // not allowing any task switching interrupts to be processed.
  i2s_write(i2s_num, out_buf, sizeof(out_buf), &bytes_written, portMAX_DELAY);


  // You could put a taskYIELD() here to ensure other tasks always have a chance to run.
  // taskYIELD();
}

static void audio_task(void *userData) {
  while (1) {
    write_buffer();
  }
}
Paul Stoffregen Teensy Audio
Paul has created an incredible audio library which even allows users to create synths with a graphical tool. The pricing + shipping + availability is quite a problem, though; because I often find his store out of stock. Seeedstudio has created a fork of his library, allegedly compatible with more boards. I could not get it to work though. Still, I find that it's a crappy move on behalf of Seeedstudio unless they've paid Paul a good sum of money for using his work like that.
If you live in a more first-world kind of place, its' definitively a good option though. The repo and more info about the lib/hardware here. The kits that might've become out of stock on his store, might be available through Mouser or other electronic shops. There is a single board computer project using Teensy that could make the hardware setup part of the workshop trivial: Tindie: Teensy based single board computer
Built-in DACs
I don't understand too well why MCUs while having so many peripherals, they so rarely integrate a good DAC. Or perhaps it's simply what MCUs are typically chosen by brands to make into arduino-compatible boards. I think it might have to do with how complicated is to orchestrate audio synthesis with the control changes, and even more so if there is an audio input.
There is this beautiful example by Hagiwo(/ハギヲ). He used a tiny MCU board by SeeedStudio which features a 12 bit DAC and created a tone generator; which I would expect could be easily turned into a more complete synth; as these MCUs are quite powerful. He does go into pretty bare-metal aspects, though, which makes the concept a bit less friendly in the perspective of a "first synthesizer" experience.
Conclusions
Best option in this context
The way to go, like I knew from the beginning, is Mozzi with some Arduino ATMEGA chip. The other approaches would be excellent candidates for a more advanced, or longer workshop. The price tag on the first workshop is much lower because it requires possibly less expensive materials; the expected lesser prior knowledge and involvement from the students will require the workshop design to target a narrow spectrum of theory; being the main objective to hook the people's interest by creating something satisfying to play with.
Nonconventionality
In order to produce a satisfying result, the target design almost must be non-conventional in sound and/or interaction, because a conventional design will lead to comparisons in the realm of synths that exist on the market. Also, conventional interaction is tricky to attain without expensive prototyping tools and advanced design techniques: things like keyboards, velocity sensitivity, parameter modulations; are all minimally expected on a conventional synthesizer, yet very difficult to attain as beginners.
Next steps
The next step for this workshop design process is to define what exactly are interesting yet simple synthesizers to aim for as result of the workshop; also to define a scope of basic DSP related knowledge and how these contents are taught through the experience of building the synthesizer. Also, a scope of possible customizations must be defined and included in the contents; so that the 'diy' aspect of participating on this workshop makes sense.