Virtual polimod: installation manual
Get up and running with the virtual Polimod
See the all the virtual polimod tutorials.
to run virtual polimod, you will need the following components installed:
- Node js
- any synth that can produce a sound out of midi input
- a midi interface (real or virtual)
getting Node js
- Go to https://nodejs.org/en/download/ and download the version which is compatible with your system
- Run the installer and follow the instructions.
- Make sure that both, “npm” and “node” commands became available in the command line.
Getting and installing the virtual polimod
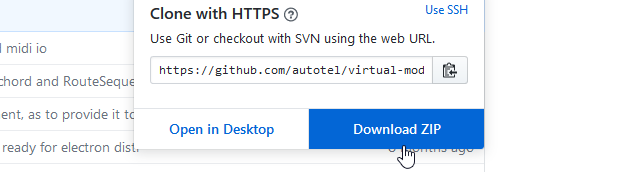
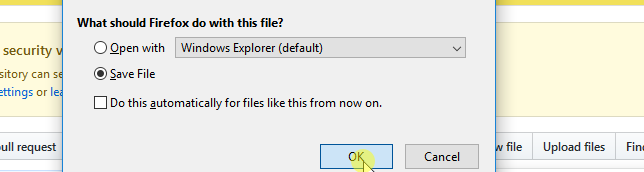
- This project can be downloaded from the repository. Simply download it as a zip file, or using git-clone.
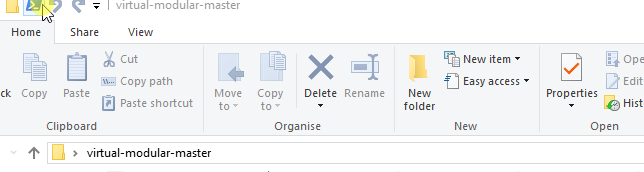
- Ensure the project contents are unzipped, and placed in the folder where you want this project to be located.
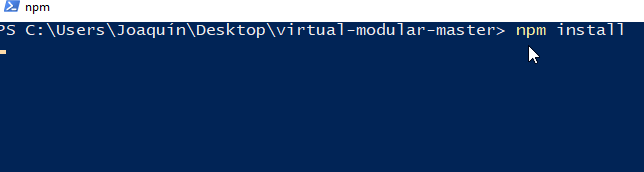
- Open a command window in the root of the virtual-modular folder. On that location, run the
npm installcommand. - wait until the process finishes.
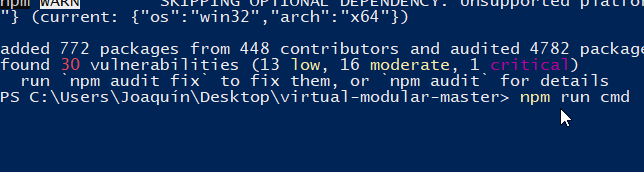
- in the same command window, test if the environment runs correctly. Run the command
node ./build-cmdornpm start cmdwhile the calculeitor controller is connected. The controller should restart and display different colours and text. 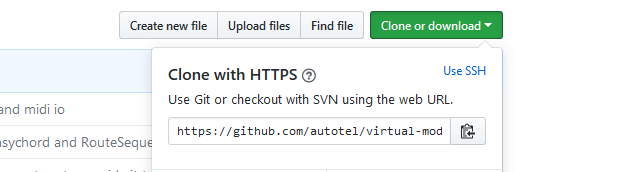

setting up a MIDI synth
It is up to you what sound engine to choose. Prefer to use software with low latency (so that you can play intuitively). It is recommended to assign one midi channel for each different instrument. For example: channel 1: piano, cannel 2: bass, channel 15: drum kit, channel 16: another drum kit. It is also possible to use a physical synth or drum machine such as Electribe. If you just want to test, it is possible to use the built-in midi synths such as ‘Microsoft GS Wavetable Synth’.
Configure your synth to receive midi events for percussion sounds in channels 14 to 16, and to receive melodic sounds from channel 1. The default patch of the virtual polimod is set up to send messages to four midi channels:
- Channel 1: melodic contents (it is easy to use more than one channel for melodic contents)
- Channels 14-16: drum and percussion contents.
Note: It is also possible to change these default channels, by modifying the file named “default-patch.js”, inside the “patches” folder. It is easier, however to adapt the synth to the default patch in order to get started in a simpler way.
Suggested virtual synths to try with Polimod
- External synths: if the synth has a built-in MIDI USB connector, you might be able to use it with Polimod. Korg Electribe 2, for example, works particularly well. If the synth doesn't have a built-in USB MIDI connector, you can buy a USB to MIDI interface.
- System built-in soundfont: many systems enlist a built-in synthesizer to which you can send midi without needing to install something.
- Plogue Sforzando: if you don't like your system's soundfont, this program lets you use other soundfonts. It works on Windows and Macintosh.
- Fl Studio: Fl studio automatically assigns one channel per selected channel. Not ideal, but can work as a "hello world" synth, using the demo version.
- Reaper: provided that you already have a collection of VST's and know your way around Reaper, it is a good option. Configure the sound output to the lowest latency possible, and set-up a Midi hardware input receive on each channel.
- Maschine: It is not free sofware, but it is good companion for this synth, since you can assign MIDI channels to individual instruments, and save those configurations.
Setting up a midi interface
The point of this step is to create a MIDI to which the environment can connect to, in order to send its midi output. You may already know how to do this; otherwise, here some options are briefly explained.
If you are using a physical synth, simply plug the synthesizer’s usb midi cable to the host computer, or plug a usb-MIDI interface between the host computer and the synthesizer.
If you are using a software synth, create a virtual midi device. In windows, download and install a virtual midi cable such as “Loop Midi” or “virtual midi”. In Macintosh it is possible to create a virtual midi port without additional software, by following this guide. In Linux, it is possible to do so using Jack.
Selecting a Midi Output from a Calculeitor
With polimod you are not limited to only one MIDI output or input. You can route any input or output to any modules you want.
In the Calculeitor, create a new module of the 'Midi-IO' type. Open that module and hold the "settings" button. While you hold that button, rotate the encoder, until the name of the interface you want to use, shows up. When you release the "settings" button, the interface will be selected.
* Note: due to a bug in the current version of the software, the screen might display the previoulsy selected interface. Just press & release the same "settings" button again. There is no need to select the interface again.
testing that everything works
After setup it should be possible to run the virtual polimod software, and make sounds with it.
- set-up your synthsesizer and midi interface.
- open a command line window in the context of the virtual-modular root folder (or open a command window and cd into that folder).
- run
node ./build-cmd. After a short time, the lights should blink and lead to a screen where the buttons have different colours.- If the result is not the expected, put attention to the error being displayed in the command window.
- If it says that node is not a recognized command, it means node might not be properly installed.
- If it says an error such as
Error: Cannot find module, it means that a library might be missing. These libraries are supposed to get installed by runningnpm installcommand, in a command window at the same context. - If the code is still running, but the calculeitor controller does not respond, there might be a problem with permissions or the hardware.
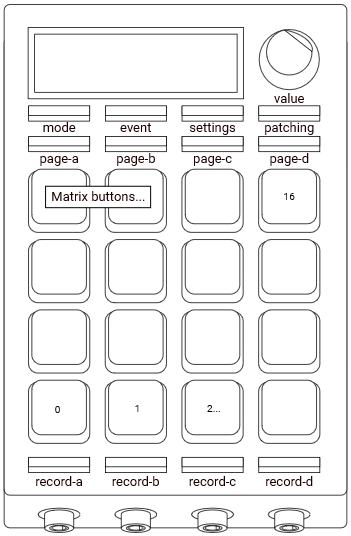
- press one of the yellow buttons, and then press the button named “patching” (see Calculeitor interface introduction, Button Names)
- The button colours will change.
- Press a button. It should produce a sound.