Building a microsequencer
One little step to get rid of electronic music performance totalitarianism
By this totalitarianism I refer to how the music hardware industries constrain our possibility to choose how we perform electronic music live, and some other issues, as explained in this post. I am following a long process of making my own performative electronic music tools.
Microseq 81 is a very minimal 8-step sequencer. I designed and made it as part of a larger process of designing my own digital electronic music performance tools. As the process of designing electronic musical instruments that are actually useful is very long and hard, I chose to make a process that has various products as milestones. In this way, I get a bit of retribution for each step of it, and also the products themselves may be found attractive to others, so it becomes a base of communication. For instance, having a first micro sequencer as a product, allows me to show it, have conversations on that basis, and therefore get appropriate new knowledge.
Here I will describe in broad terms how to make a micro sequencer. Making instructions that can be understood by everyone is very hard and long. This one is a draft, and is very likely that you wouldn't be able to make it only by reading this. If you just want to make one, feel free to request more information to my email or in the comments: seeing that there is enough interest, would make this work worthy. Could be also a good idea to arrange a meetup on how to make it.
Body
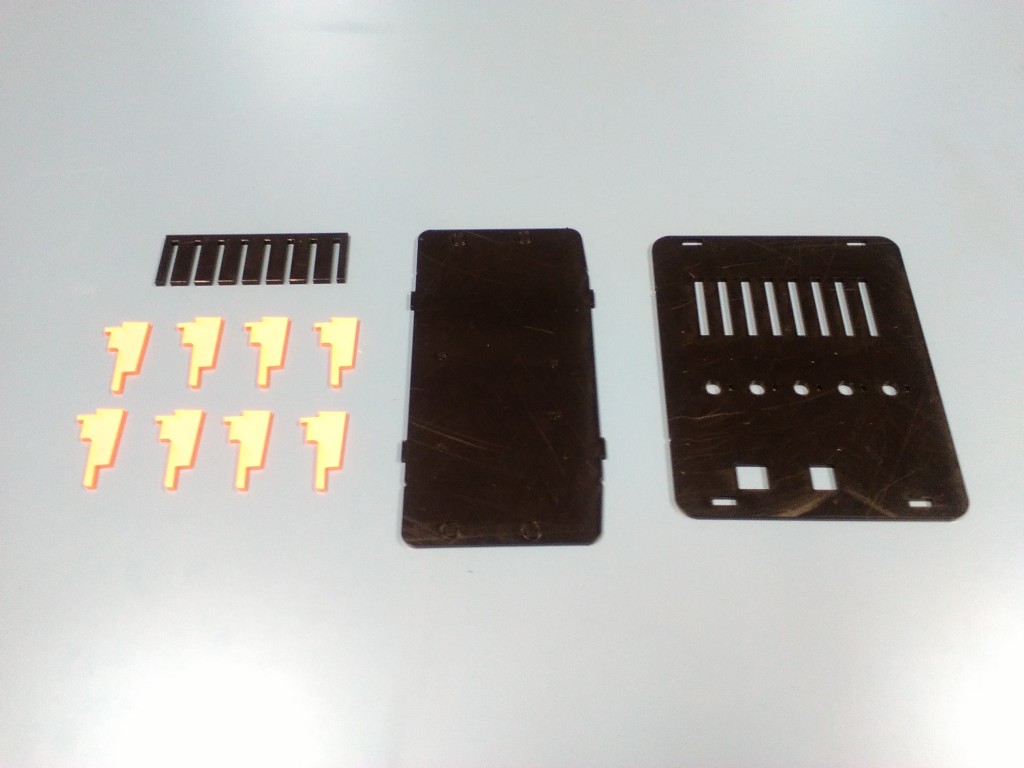
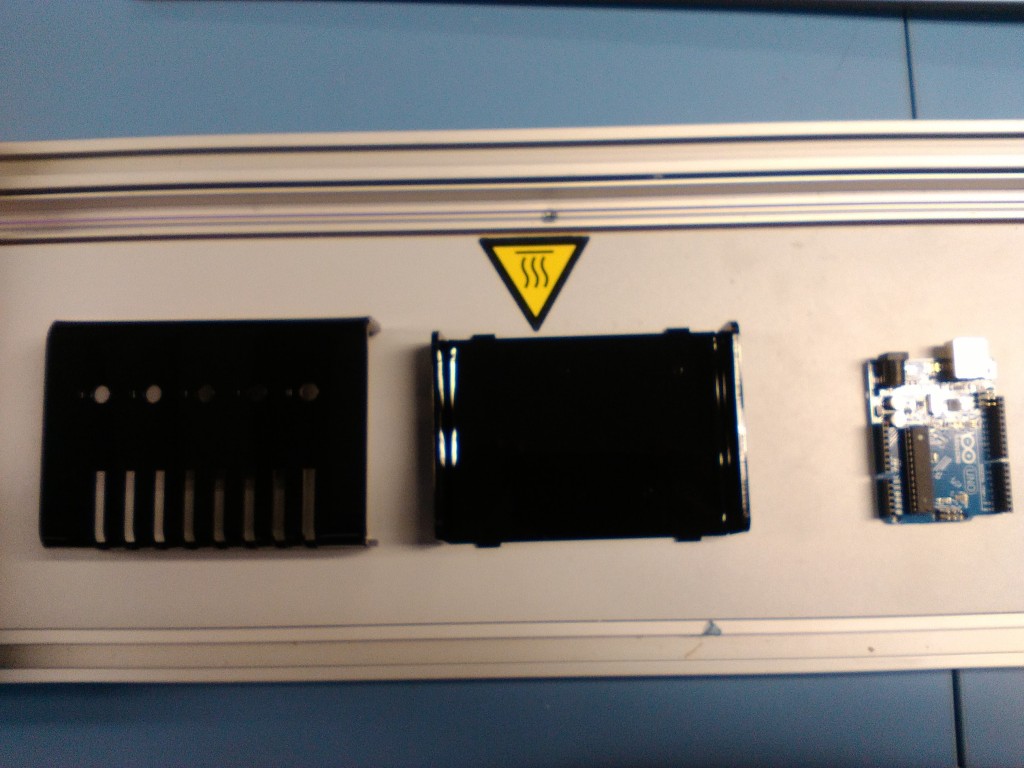
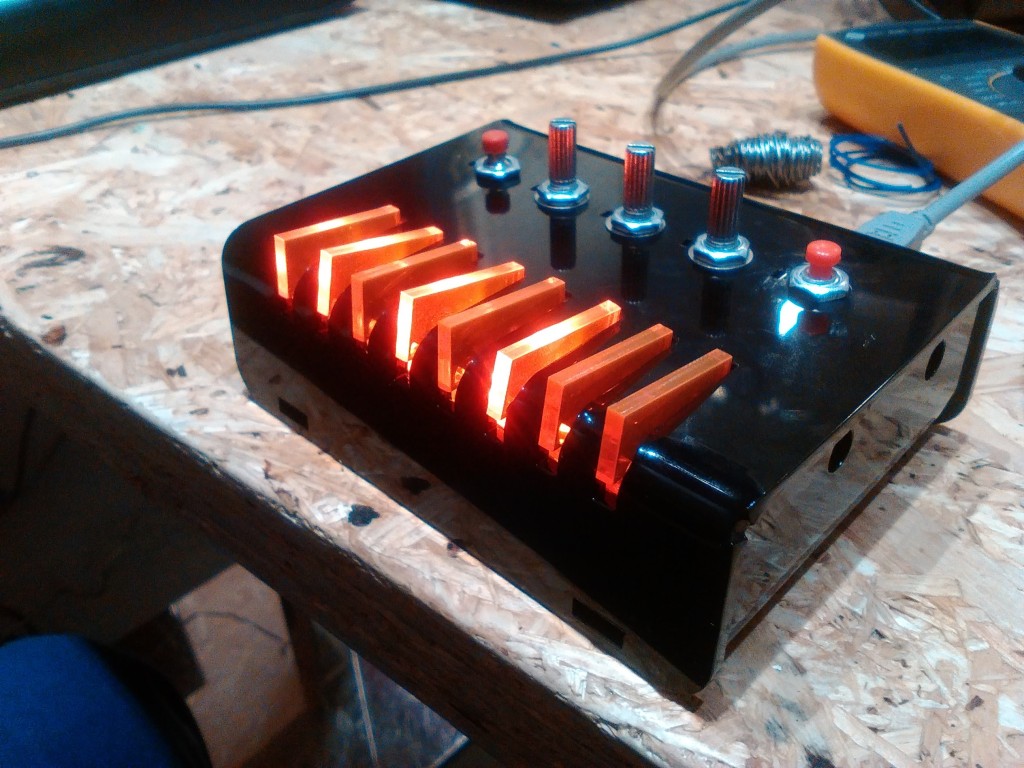
The body is made from laser cut acrylics. I have made this by using a proper bending machine, or using heat guns. The button acrylics must be transparent, so they conduct the led lights to the exterior.
Circuit
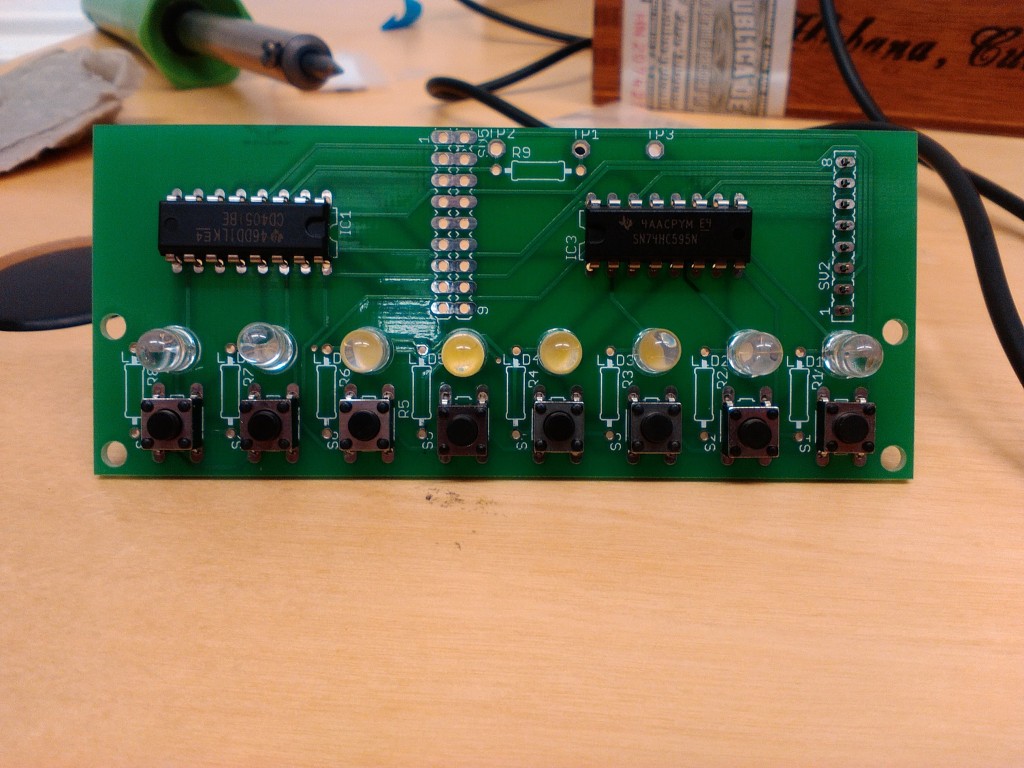
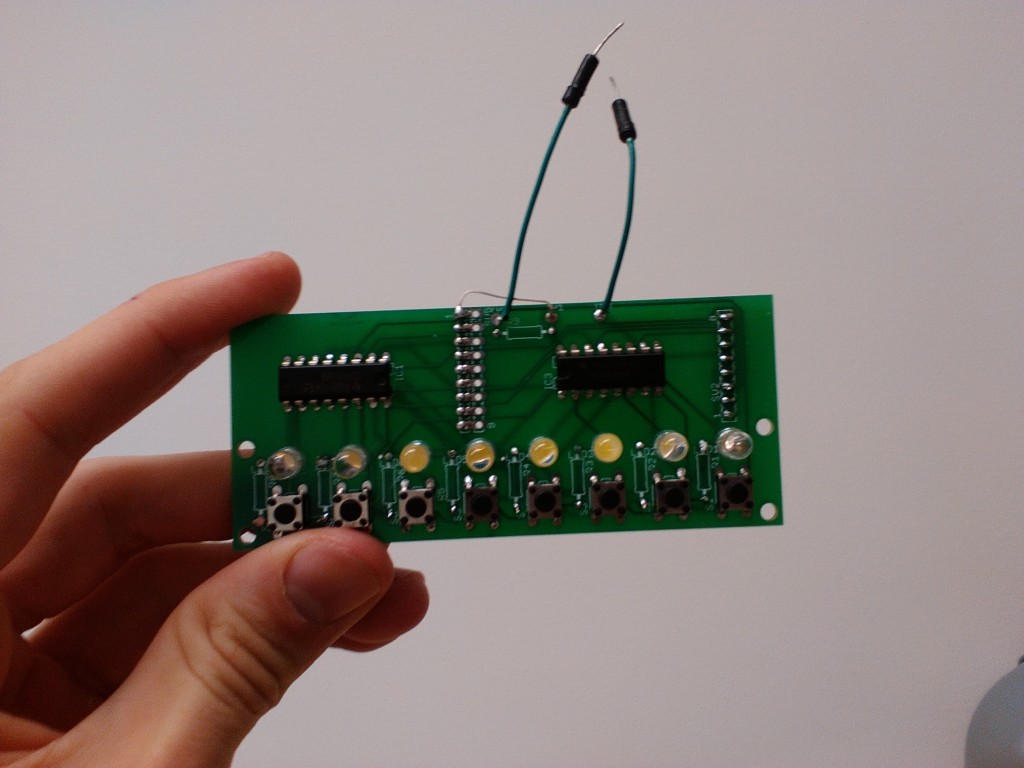
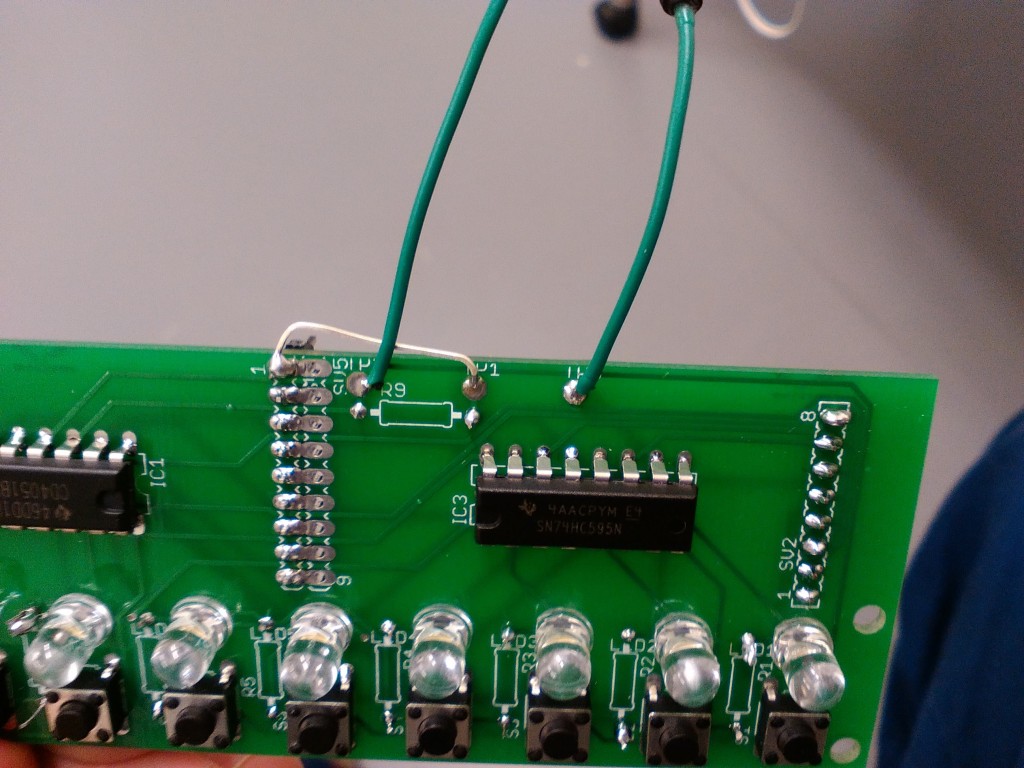
The printed circuit board is a custom eagle design. It has a 4051 mux and a SN74HC595 shift register to multiplex button presses and led lights respectively. There is a couple of mistakes as well, and needs a jumper between jp1 and the fourth pin of the 4051 mux, as displayed. It also needs the pins 6, 7 & 8 of this same chip to be bridged together (this bridge is not in the photo).

Assembly
We assemble it by gluing the comb shaped part to the top of the top shell, giving better support to the acrylic buttons (and also isolating the led lights).
Connection to Arduino
The whole idea of the Microseq is that you can put the controllers you personally need. So far the firmware is programmed to have all the analog inputs connected to pulled-down resistors or buttons. The JP3 connection goes to the 3V and the JP2, to the digital pin 8.
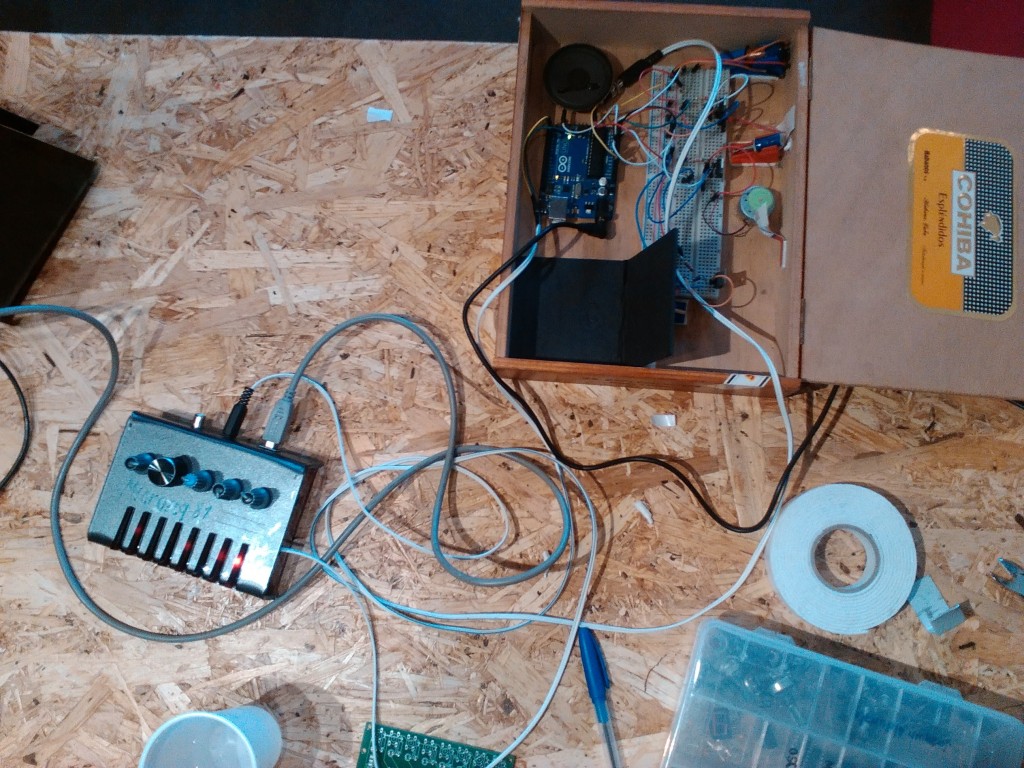
The finished Sequencer, connected to midi over serial to the computer.
An older sequencer, connected with a -sort of- midi cable to the mechanic sequencer, in the Espoo mini makerfaire.