Virtual modular sequencer body building process
Here some photos on how to build a body for the modular sequencer. As this project is still in development, there may be some visible variations. One example of this, is that you probably will use a newer version of the board respect the one that I am using in the pictures; since the new version has improved LED brightness. In the new version you will find that there are more buttons than the prototype that appears in the picture, and the screen & encoder positions may have been changed. I recommend you that you make sure everything is in it's right place and quantity before laser cuttting (acrylic is not recyclable, and I don't want to see more of this material being wasted!). Be aware also that depending on the exact thickness of the acrylic you are using, the enclosure may need some size adjustments. When you buy 3mm acrylic, you get any thickness between 2.7 and 3.2mm. This leads to deviations in the final build that add up to more that 1 mm! This oviously compomises the ability of the two shells to snap together correctly. Perhaps we should try machined enclosures after all.
This was built in the Aalto Fablab. The files are currently available at Github. Please don't just blindly follow these steps, but read it through and make sure all the files and materials you have are congruent, since this project is still under development. Feel free to contact me for any question.
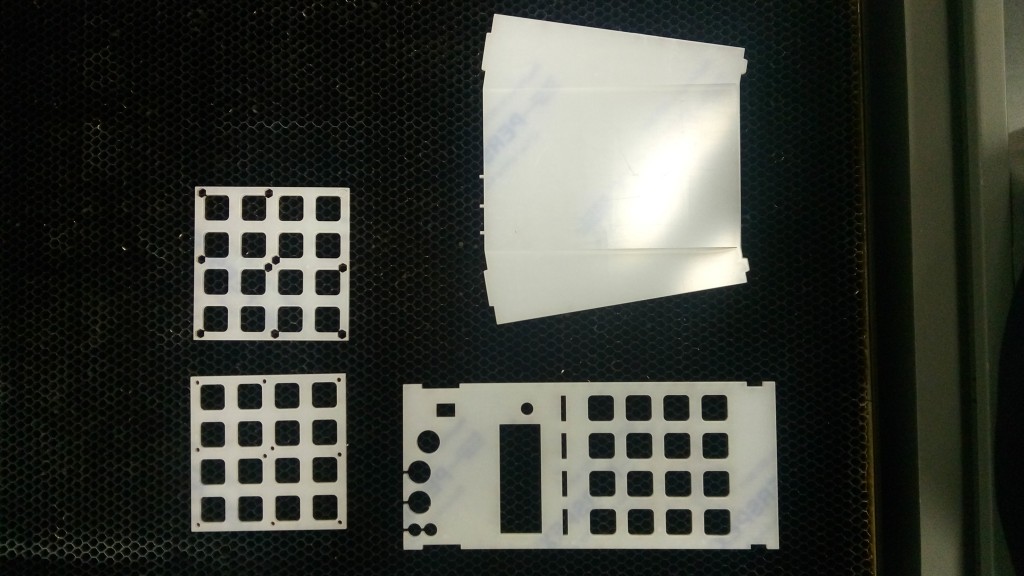
I started by laser cutting all the pieces in my favourite colors (transparent, white and black, of course), and soldering the remaining components in the electronics board (screen). 
The idea of this assembly is that the board goes bolted to acrylics that are glued to the top layer; ensuring that the board doesn't move at all with respect to the front layer of acrylic. The little buttons that allow us to press the tact switches, need that everyting is very precisely in place.
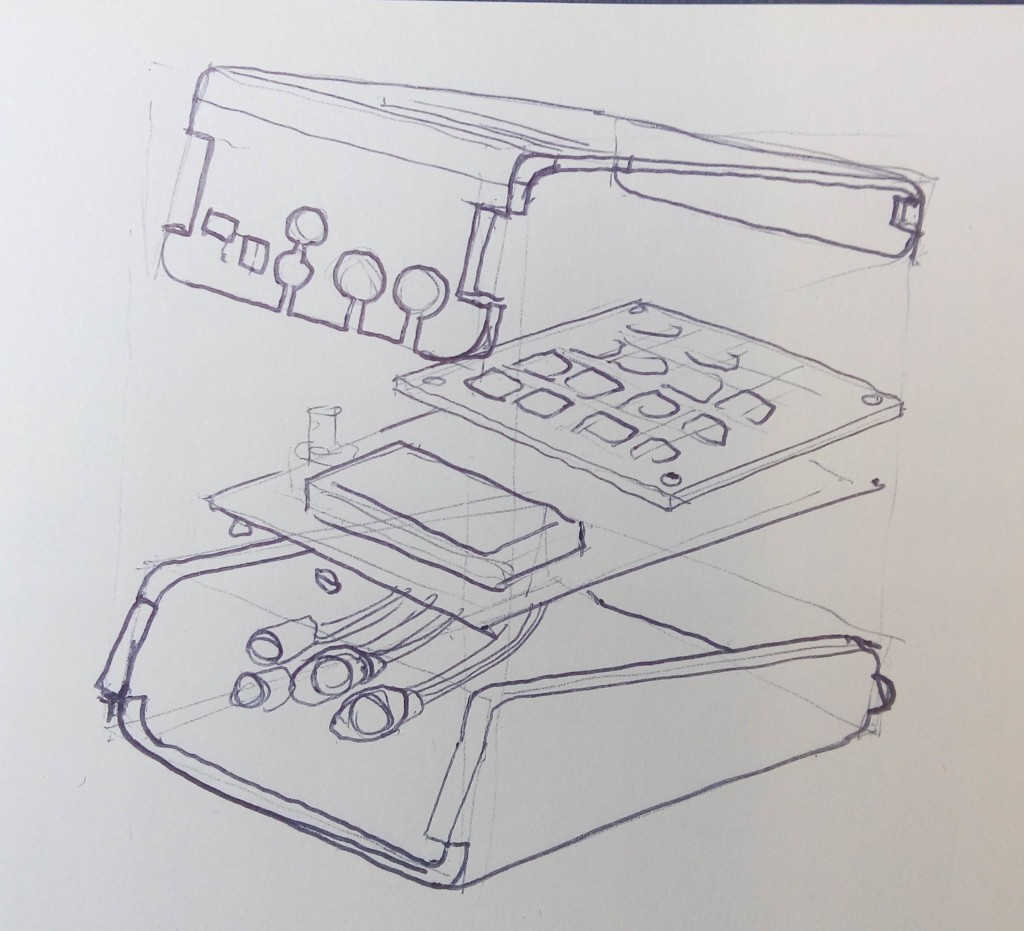

This enclosure is designed to host a Raspberry PI 3 B; so you can mount the sequencer server in it, and have the illusion that this is a hardware controller, when it actually is just a computer! I would like to encourage trying other small SBC's such as CHIP. You can also just use your everyday laptop.

 I glued the retention layers with an UV curated glue. I guess that cyanoacrylates should work as well.

 The retention layers, glued to the top shelf. It captures the nuts. You could modify the drawings to make it not capture the nuts, and it will still work.
  Curating the UV glue. If you are using other kind of glue, you may not need to do this, of course.
 I constantly make sure that all fits together... Besides, it is satisfactory to have a glimpse at the final product during the process.
 If all worked right, I screw some bolts in. They bust be the exact size: too short, and they don't get to the nut's thread; too long and they will wrench the retention layers out. I didn't have the exact size bolts, so I just cut them and repaired their thread start using a dremel. If you are not cutting them, i think that size should be 9 or 10 mm long M3 type. After testing, I proceed to fold.
  I bend the top shell first, making sure it will fit perfect into the bottom shell.
  I need the bends to be quite tight, this is why I push the corner with another acrylic against the bending guide.
  This other bend also needs to be tight, but it gets the help from the retention layers that are glue. Make sure there is the smallest possible gap between the acrylic edges and the shell wall. Maybe no gap at all!